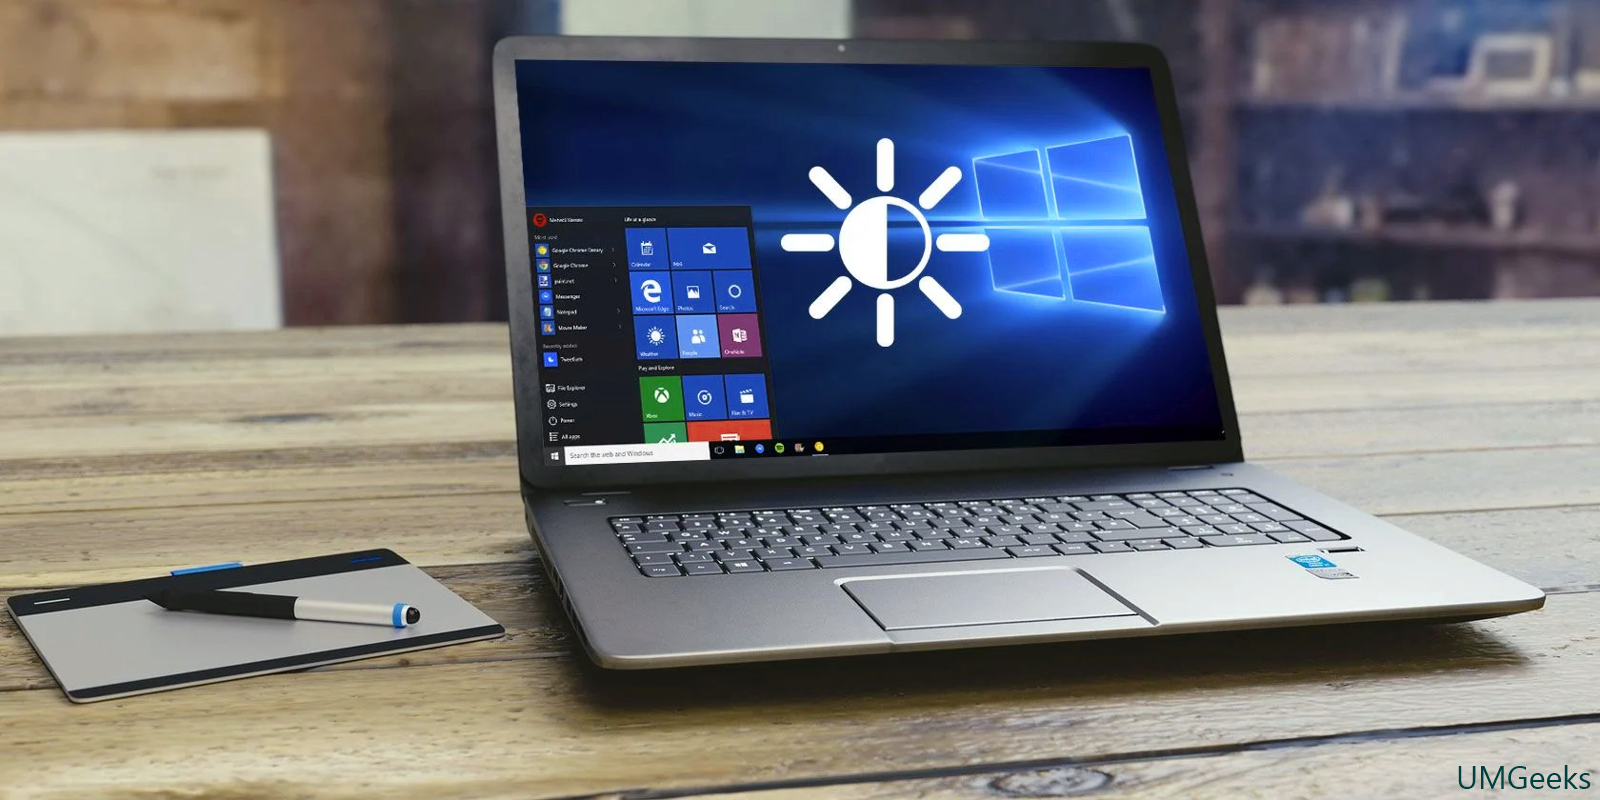
It’s simple to switch off your Windows 10 or 11 PC’s screen from automatically brightening or dimming. A short trip to Settings is all it takes. This is how you do it. In this article, we will talk about, How to Disable Auto Brightness in Windows 10 and 11?
Disable Auto Brightness in Windows 10 and 11
Getting to Know Windows’ Automatic Brightness
Before we begin, keep in mind that automatic (or adaptive) brightness is only available on Windows devices with built-in screens, such as laptops, tablets, and all-in-one desktop PCs. If you use an external display, you’re unlikely to find adaptive brightness options under Settings.
Some Windows devices adjust screen brightness automatically based on ambient lighting conditions, while others do not. If that’s the case, your device’s adjustments are dependent on data from a light sensor.
Additionally, some PCs allow for automated brightness changes based on what you’re looking at on your screen, which helps save battery life.
Read More: How to Recover Deleted Audio and Video from Windows 11
This feature is known as “content adaptive brightness control,” or CABC, by Microsoft. You may notice one or two check boxes to control these choices in Settings, which we’ll detail below, depending on which of these capabilities your Windows PC supports.
How to Turn Off Windows 10 or 11’s Adaptive Brightness
When you’re ready, hit Windows+i to access Windows Settings and off auto brightness. You can also right-click the Start button and choose “Settings” from the drop-down menu. In Windows 10, click “System,” then “Display” in the sidebar when the Settings app opens. In Windows 11, go to the sidebar and pick “System,” then “Display.”
In Windows 10, go to the “Brightness and Color” section and uncheck the boxes next to “Automatically modify contrast based on the displayed content to assist improve battery life” and “Change brightness automatically when lighting changes.” Uncheck both choices if you see them.
To uncheck “Help improve battery by optimizing the content displayed and brightness” in Windows 11, click the little arrow beside the “Brightness” slider to expand a small menu, then uncheck “Help improve battery by optimizing the content shown and brightness.”
Uncheck “Change brightness automatically when lighting changes” if it appears. Close Settings after that. Your screen brightness will always be the way you set it under manual control from now on. Have fun with your computer!
Read More: Windows 11 Settings Won, t Open? Try these Remedy Ideas
In Windows 10/11, go to Settings and change the brightness.
Setting is a simple way to manage the brightness on your Windows 10/11 computer.
To do so, follow these steps:
To open Settings, press Windows key + I.
Select System > Display from the drop-down menu.
Use the Brightness slider beneath Brightness and Color. The light will be dimmer on the left and brighter on the right.
One of two reasons could be causing the slider to be unavailable. If you’re using an external display, adjust the brightness using the buttons on that monitor. Otherwise, the display driver must be updated.


